


Show kids the power of science!
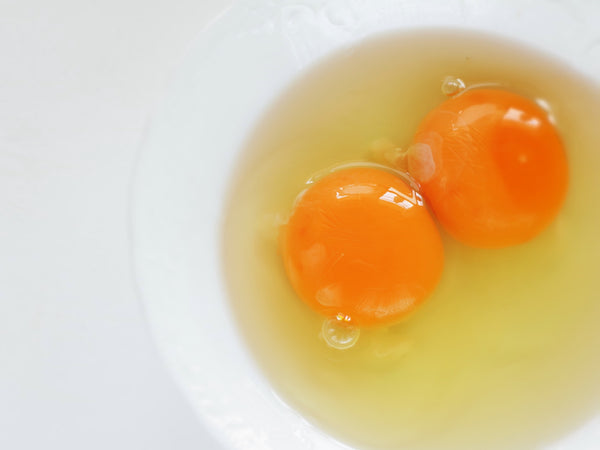
Eggs aren't just a delicious and healthy part of your diet: they make great science teachers, too! There are so many fun and educational STEM eggsperiments (egg experiments), and today we're going to share five of our favorites to do with your kids. So grab a few dozen eggs and let's get started!
Note: all of the experiments below should be conducted with adult supervision.

Physics eggsperiment: walking on eggshells
You've likely heard the idiom "walking on eggshells," often used to describe a tricky situation you need to navigate cautiously. The reality is that eggshells are much stronger than many of us imagine. To put it to the test, we're going to walk on eggs!
Step 1
First, lay a blanket or towel under two or three dozen eggs in their cartons. Have your kids help inspect each egg for cracks and point them all same side up.
Step 2
Help your kids place each foot on a carton of eggs, making sure to distribute their weight evenly.
Findings
You will find that the eggs are actually incredibly strong and hold up against the pressure of your test subject's evenly distributed weight! The egg's unique shape gives it great strength, despite its perceived fragility. In fact, eggs are strongest at the top and bottom, which is why they don't break when you apply pressure evenly on both ends.
However, eggs do not hold up well against unevenly distributed pressure, which is why they are easy to crack on the side of a glass or on the counter when you make your breakfast. This is why a hen can sit on her eggs without breaking them, but a baby chick can peck its way through the shell!

Enamel stain eggsperiment
Next, we're going to demonstrate the effects of sugars and acids on your teeth using eggs. The hard shell of an egg protects the soft parts inside, including the egg white and yolk, just like the hard enamel on your teeth protects the soft and tender pulp on the inside. Moreover, both eggshells and teeth are made of calcium—a hard white substance that also makes up our bones.
Step 1
To begin, fill a few glasses with various liquids, including soda, grape juice, and water. Add an egg to each glass and let sit for 24 hours.
Step 2
Ask your kids to examine the eggshells and describe what they notice. As expected, eggs that were submerged in water should have remained unchanged. Grape juice will have the most surprising results - the egg should turn black!
Findings
Depending on the ingredients in the beverages you chose, most of the eggshells will now be stained, just like your teeth might be after you drink that soda or juice. To take this experiment to the next level, have your kids use a toothbrush and toothpaste to see if the stains can be removed.

Naked egg eggsperiment
Now that we've tested the protective qualities of eggshells, let's find out what happens to an egg without its protective outer shell. Is it possible to remove an eggshell without breaking the egg itself? Find out how to make a "naked" bouncy egg with this fun experiment. All you need is vinegar!
Step 1
Have your kids carefully fill two glasses with vinegar, then gently drop an egg in each glass and let them sit for 24-48 hours. Have your kids check in from time to time: they'll notice that the eggs will appear to fizz and bubble, until finally, the shells dissolve completely!
Step 2
Discard the vinegar and inspect the results with the kids. What is left is a transparent, "bouncy" egg.
Findings
Eggshells are primarily made up of calcium carbonate, and when you soak the them in vinegar, which is acidic, you start a chemical reaction that dissolves the shell itself. You can also try pushing your finger into the membrane to test its flexibility. Next, experiment with dropping it from various heights to test the limits of its bounciness and strength, then save your naked egg for the next eggsperiment!

Osmosis experiment: egg membrane
Now that we have naked eggs, we're going to take the science one step further by witnessing osmosis.
Step 1
Have the kids fill a glass of water with red food coloring, drop one of the naked eggs into the glass, and wait. After 24 hours, ask them what changed: the membrane and the inside of the egg have turned red!
Step 2
Next, have the kids fill a glass with tonic water, drop a naked egg in, and wait. Because tonic water is clear, there are no observable differences to the naked egg after 24 hours. But there's more to this than meets the eye...
Findings
With the protective shell removed, all that remains on the outside of the naked egg is a semi-permeable membrane, meaning certain substances can easily pass through its protective barrier. The inside of the egg has a lower water concentration, so over time the membrane of the egg allows water to seep into the egg—this process is called osmosis, and the kids can see it in action by cutting the egg in half to reveal the red water on the inside. Now that the egg has absorbed some water, it has also increased in size!
Now take a flashlight and shine a light on your tonic water egg. Ask the kids if they see any changes: the egg has absorbed the tonic water, which has properties that make it glow under a black light. Through the power of osmosis, we now have a glowing egg!

Air pressure eggsperiment: egg in a bottle
Did you know that you can suck an egg into a bottle without touching it? Our last experiment uses air pressure to do just that.
Step 1
First, hard boil and peel an egg, then have your kids set it on the opening of a standard glass milk bottle or a science lab beaker with a wide mouth— just be sure to select a bottle that is made of glass and approximately 1.25" wide at the opening. You'll find that the egg is too large to squeeze through the neck, but we're about to change that.
Step 2
Next, light a match (or four) and toss them into the bottle, then quickly place the egg back on the opening of the bottle.
Findings
Within moments, the warmth from the matches begins to cool, and the resulting air pressure will cause the egg to squeeze through the neck and into the bottle! This happens right when the egg is placed on top of the bottle openings, creating a seal. Once the matches stop burning, the air inside the bottle cools, lowering the air pressure inside and pulling in the egg.
As you can see, eggs really are remarkable! If you tried one (or all five!) of these experiments, let us know what you learned in the comments below.