

It's finally fall, ya'll!
Bringing with it a brand new school year, numerous holidays, and several opportunities to gather with loved ones, fall is the perfect season to show gratitude for the people in your life.
And what better way to express your feelings than with a handmade greeting card? For kids and grown-ups alike, greeting cards can mean a lot: a handwritten note may seem like a small gesture, but words have a big impact. Made with upcycled Nellie's Free Range Egg Cartons, these DIY pumpkin patch greeting cards double as a hands-on, sustainable craft and an opportunity for kids to practice their spelling and handwriting. The next time you find yourself in need of an after school activity or cozy autumn weekend DIY, you know what to do.
Greeting card prompts
Not sure who to write to? Parents, use these prompts to help your little ones get started!
- Tell your teacher how excited you are to be in his or her class this school year
- Share a few life updates (Lost a tooth recently? Learned to ride a bike?) with a relative that lives far away
- Let your best friend know how much they mean to you
- Tell your parents why you're thankful for them
- Thank the members of your community for their hard work
DIY upcycled egg carton greeting cards
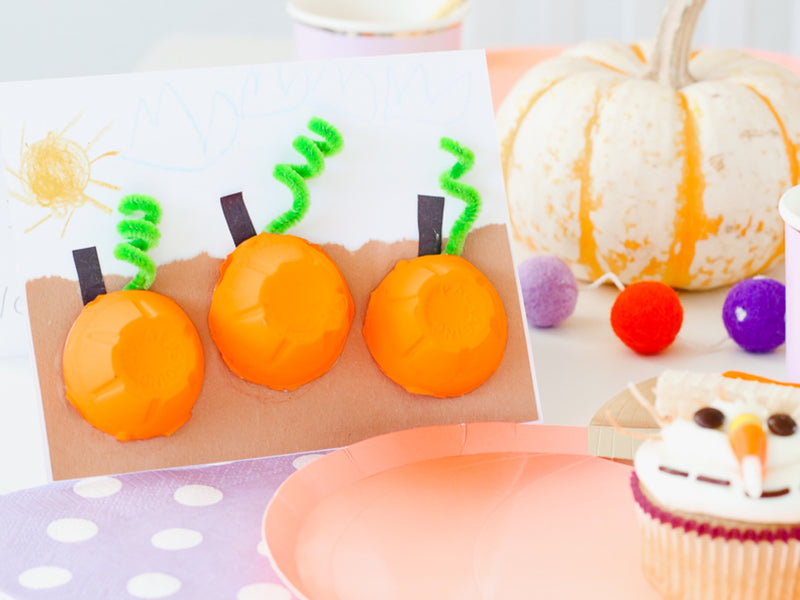
The "cups" that cradle our eggs when stored in their 100% recycled cartons just so happen to be the ideal shape for an adorable pumpkin patch! To turn them into mini pumpkins for your greeting cards, you'll also need some paint, paper, pipe cleaners, and a few other craft essentials.

Supplies:
- Nellie's Free Range Egg Cartons
- 5" x 7" blank cards
- Orange paint
- Paint brushes
- Green pipe cleaners
- Construction paper
- Crayons
- Scissors
- Glue
Directions:
- Cut out each egg cup from the carton and trim the edges. You will need 3 egg cups for each greeting card as shown.
- Using a brush, paint each egg cup orange. Depending on the paint quality, you may need more than one coat. After the final coat, let dry completely while you prepare the rest of the card.
- Cut a backdrop for your pumpkin patch out of brown construction paper. It should be the width of your card (see photos). Glue to the front of your card.
- Once the egg cup pumpkins are dry, carefully glue them to the brown construction paper on your card.
- Using a brown crayon or construction paper, draw or glue on a small stem at the top of each egg cup pumpkin.
- Cut small pieces of green pipe cleaner and twirl them around a pencil or the handle of a paint brush to create a spiral effect. Glue each pipe cleaner above your egg cup pumpkins near the brown stems.
- Use crayons to add a sunny sky or other details to your pumpkin patch.
- Write a note for the recipient inside the card.

Did you create your own pumpkin patch greeting card? Tag your photos with #nelliesfreerange so we can see! Or click here to see our other fun afternoon activities you can enjoy with the kids. And don't forget to check out Twinkle Twinkle Little Party for more inspiration.